Voltage Compatibility】
When using electrical appliances, please note that they are designed for Japanese voltage specifications (90-110V), so if you use them with a different voltage, it may cause a malfunction.
【Plug Type】
Our products use Japanese plug types (A or B type).
Please use a conversion adapter if necessary.
【Important Note on Transformers and Adapters】
A transformer adjusts voltage to match your device’s requirements.
A conversion adapter only changes the plug shape and does not adjust voltage.
Using only a conversion adapter without a transformer may result in damage to the product.
【Liability】
We are not responsible for malfunctions or damages caused by improper use, such as operating the product without a transformer.
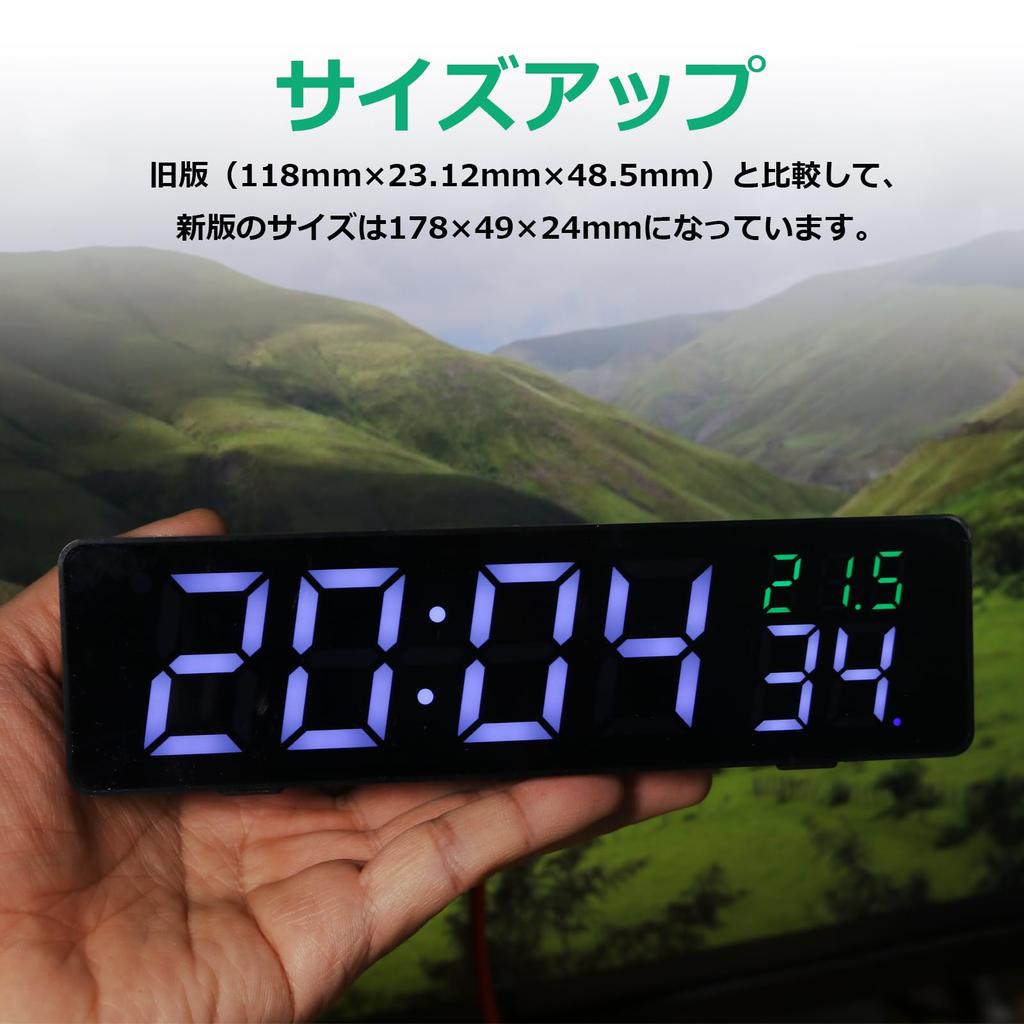
Increased size: Compared to the old version (118mm x 23.12mm x 48.5mm), the new version has a size of 178 x 49 x 24mm.
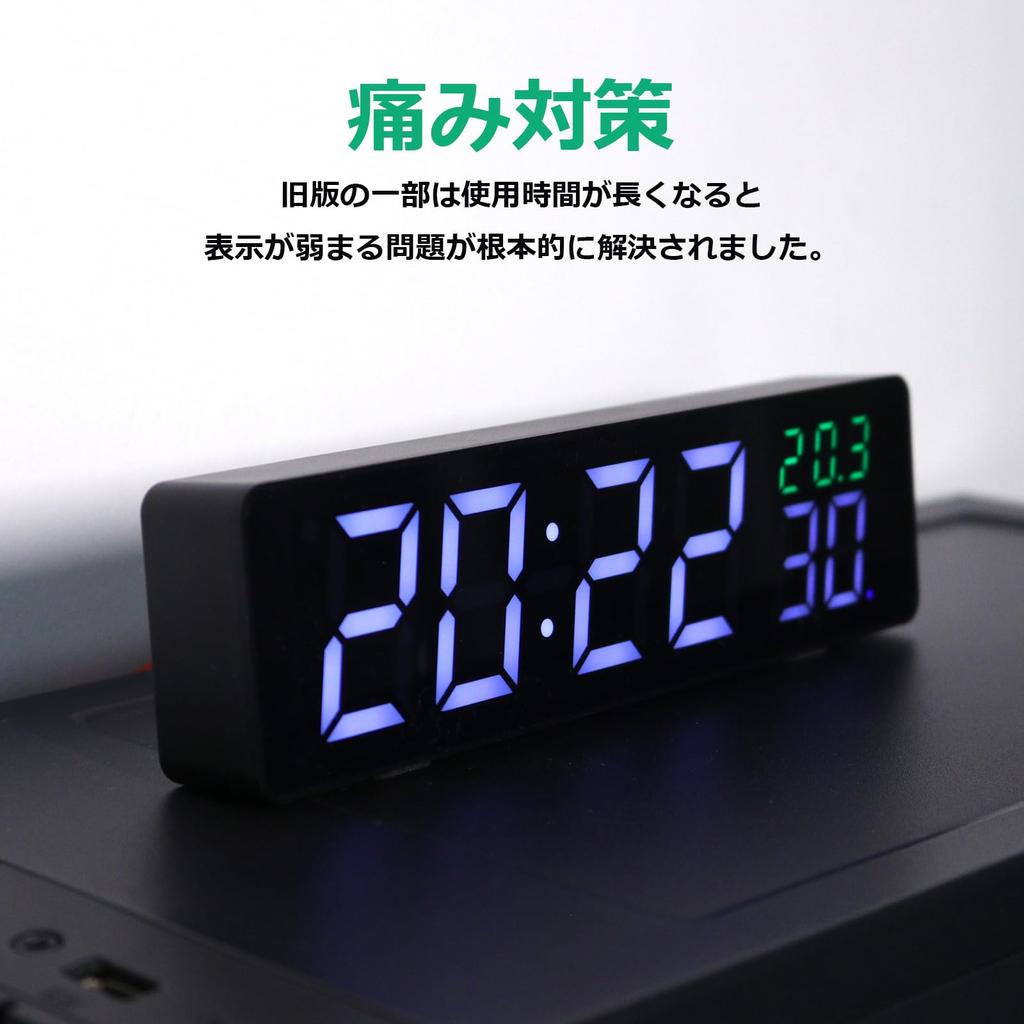
Pain relief: The problem with some of the older versions where the display becomes weaker when used for a long time has been fundamentally resolved.
Time adjustment via WIFI: Automatically adjusts the time via WIFI, eliminating the hassle of manual time adjustment and making the error more accurate.
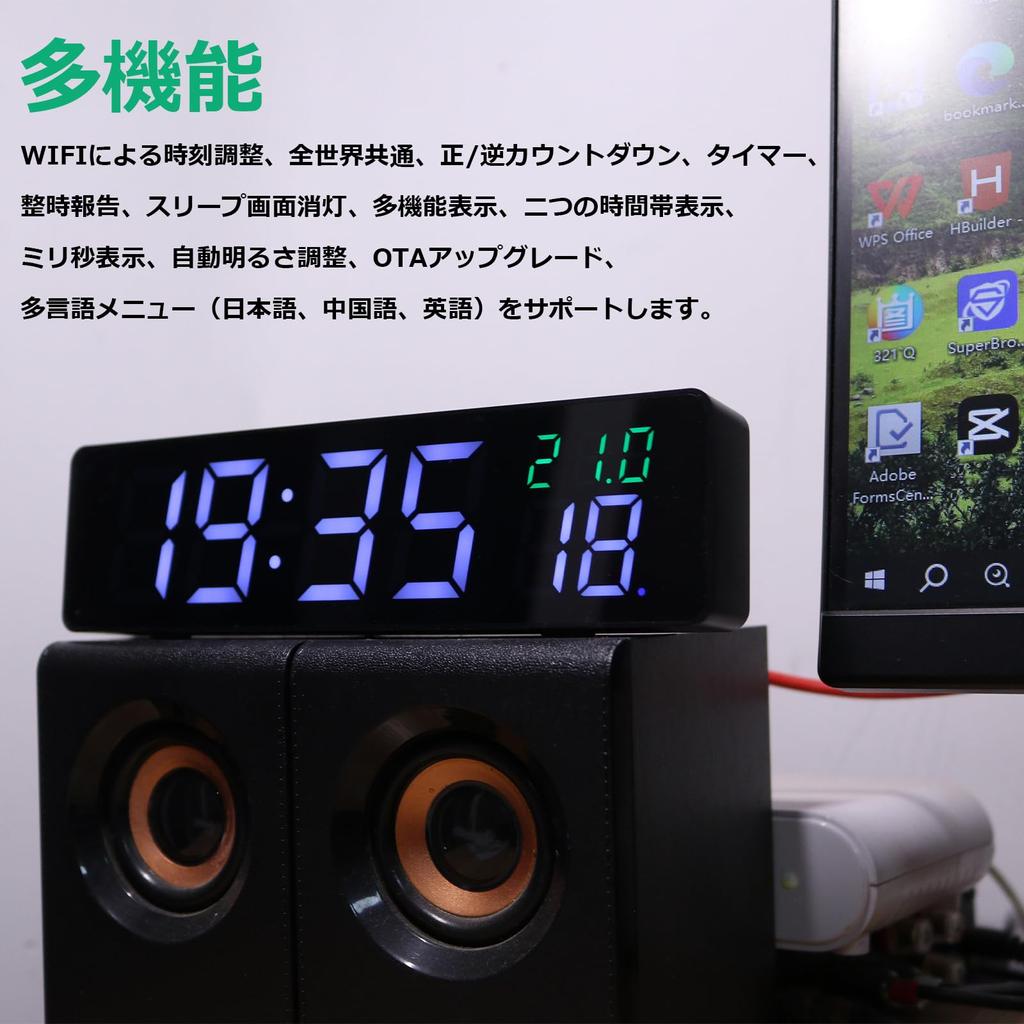
Multi-function: Supports time adjustment via WIFI, universal, forward/reverse countdown, timer, time report, sleep screen off, multi-function display, two time zone display, millisecond display, automatic brightness adjustment, OTA upgrade, multilingual menu (Japanese, Chinese, English).
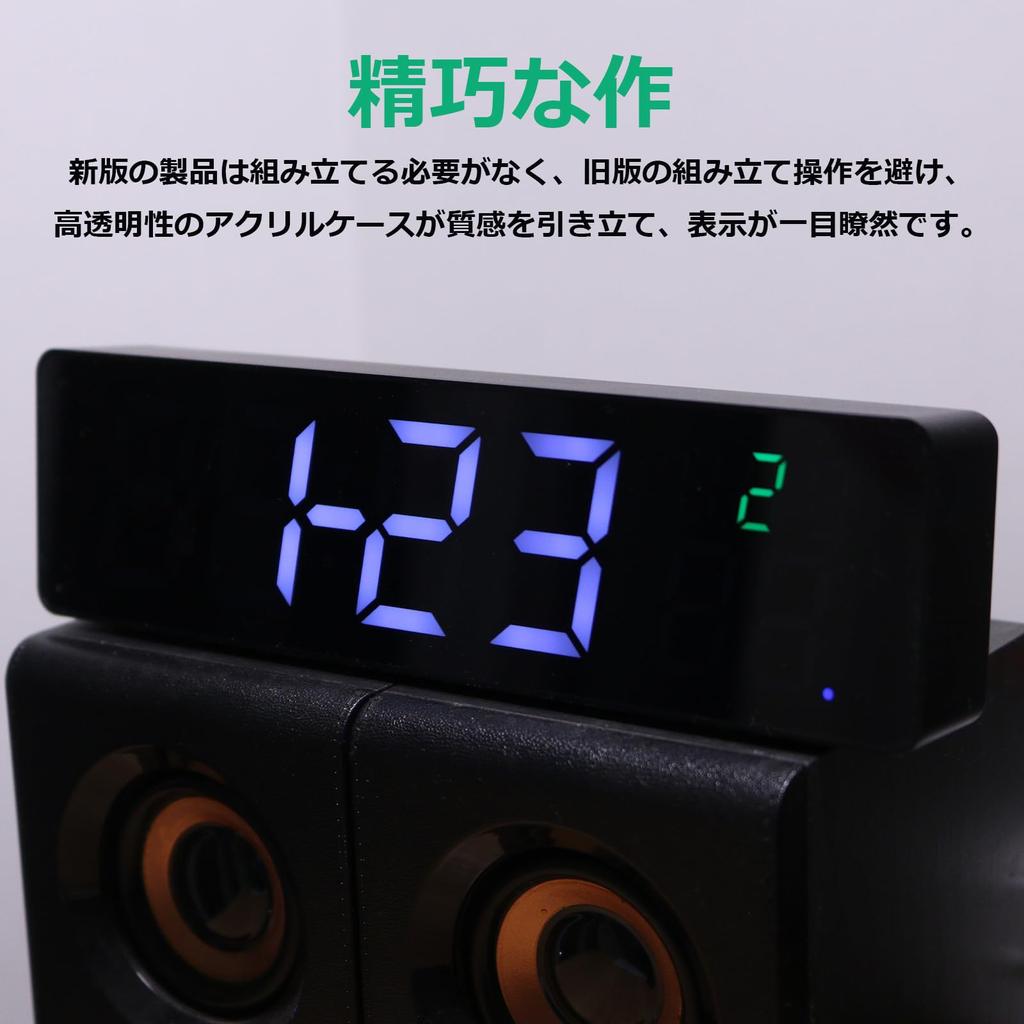
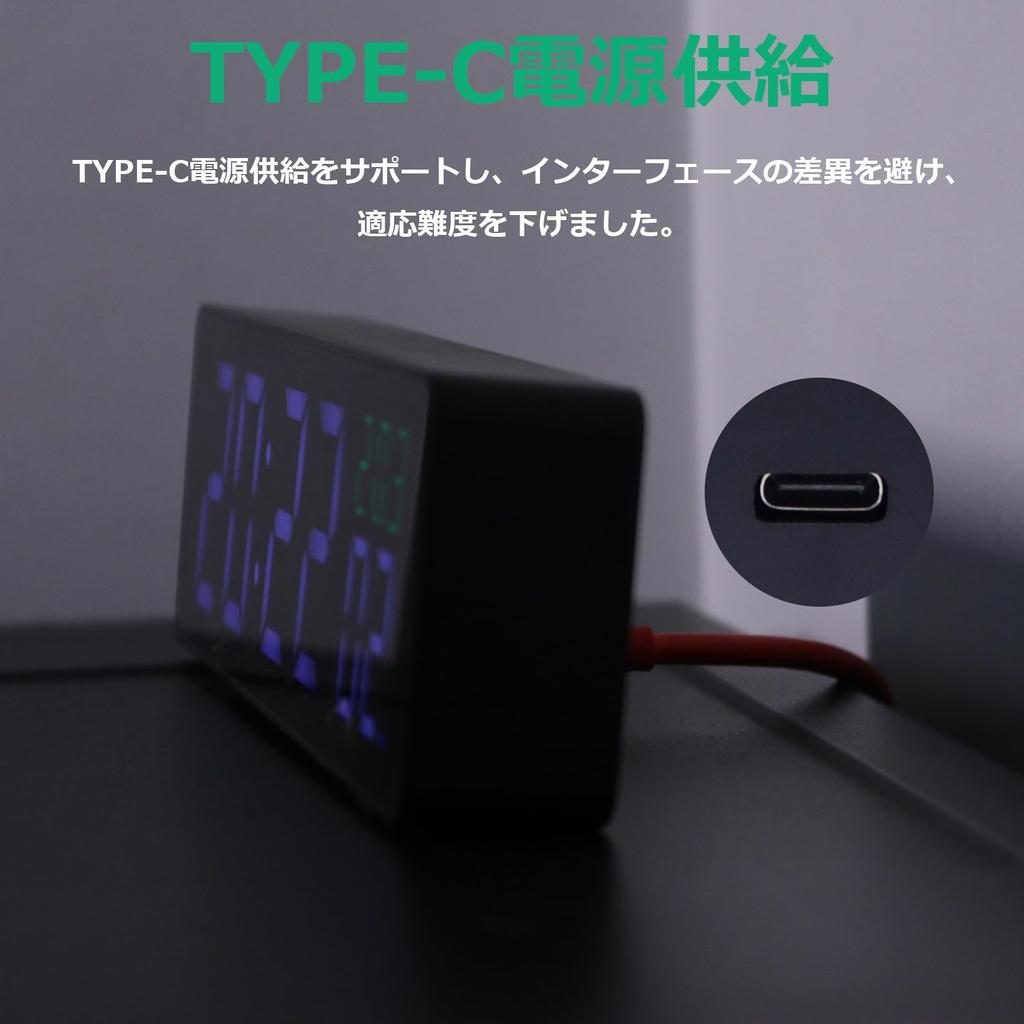
Exquisite workmanship and TYPE-C power supply: The new edition product does not require assembly, avoiding the assembly operation of the old edition, and the high-transparent acrylic case brings out the texture and the display is clear at a glance. Furthermore, it supports TYPE-C power supply to avoid interface differences and reduce the difficulty of adaptation.
Note: We do not recommend removing the protective film, but if you do remove it, please clean it with an eyeglass wipe.
This product is not suitable for amateurs, so if you have any questions, please feel free to contact us and we will explain it to you.
Assembly steps:
1. Install the digital tube body.
2.Attach the acrylic cover.
3. Tighten the screw;
please note:
The acrylic cover is fragile, the screws only need to touch the cover lightly, do not tighten them tightly.
Brightness settings:
1: Press the EFF key, the tube will display the brightness value (0-100). Press and hold the + or - key to increase or decrease the brightness.
2: Press the EFF key twice to complete the brightness setting.
3: Press the EFF key three times to scan the global brightness and enter automatic brightness adaptation state.
Clock/alarm settings:
Press the SET key to enter the time setting state, the time bit will flash and the rest will be displayed normally. Press + or - key to set.
Press the SET key twice, the clock will enter the minute value setting state, the minute bit of the clock will flash, and the rest will be displayed normally. Press + or - key to set.
Press the SET key three times to enter the alarm clock time value setting state, the alarm time bit will flash and the remaining tubes will disappear. Press + or - button to set.
Press the SET key 4 times to enter the alarm clock minute value setting state, the alarm clock minute bit will flash and the remaining tubes will disappear. Press + or - key to set.
Press the SET key 5 times to complete the clock/alarm setting.
PS: Set the alarm to 00:00 to turn off the alarm.
explanation:
1. Can be powered by a button battery, so there is no need to reset the time even after restarting.
2. There are differences in quality and color;
3. It shows that the tube body and interior are made of very transparent material, and there is also a possibility that trace amounts of impurities were introduced during manufacturing and assembly.
4. Indoor use, if the environment has direct sunlight or a significant amount of light intensity, it will affect the effectiveness of the product.
5. There is a slight difference in tube height.